・IT/Web系エンジニアの経験者の方
・どこの転職エージェントを利用しようか迷っている方
それなら、キッカケエージェントにご相談!
キッカケエージェントでは、少数精鋭のエージェントが、エンジニアの経験やスキル、志向性などをカウンセリングし、的確なアドバイスを提供します!
また、徹底した企業へのヒアリングにより、最適なマッチングを実現し、今では内定率が一般的なエージェントの2倍以上となっています!
転職エージェントに迷っている方、まずは無料でキャリア相談から!
(この記事は2022年12月17日に投稿されました。)
Javascriptで新しいHTML要素を作成する方法としてcreateElement()があります。
createElement()とは、は新しいHTML要素を作成するメソッドであり、指定したパラメータをタグとして作成します。
しかし、作成されるのはタグのみであるため、属性や値などの中身、どこに配置するかなどはこちらで設定をする必要があります。
また、for文のような繰り返し処理を使用することで一気に複数のHTML要素を作成することができます。
こちらのメソッドを使用すると動的にHTML要素を作成することができますので、「このタイミングでHTML要素を作成したい」と思った場合はcreateElement()を使用しましょう。
今回はJavaScriptのcreateElement()で新しいHTML要素を作成する方法について紹介していきます。
・値を渡す用のHTML要素を作成したい場合
createElement()とは
createElement()とは新しいHTML要素を作成するメソッドになります。
HTML要素を作成するメソッドであるため、作成後は要素を追加するメソッドを使用する必要があります。
例えば、要素を追加するメソッドの1つとしてappendChild()があります。
もし、appendChild()について詳しく知りたい場合は下記の記事をご参考ください。
createElement()の書き方
createElement()の書き方は下記のようになります。
1 | document.createElement('タグ名') |
documentの後ろにcreateElement()と追記し、括弧内にタグ名を指定することで使用することができます。
createElement()のパラメータ
createElement()のパラメータは下記のようになります。
- タグ名(必須):
作成したいHTML要素のタグを指定する
createElement()は必須パラメータとして、タグ名を指定します。
createElement()の返り値
createElement()の返り値は「タグ名で作成されたHTML要素」になります。
createElement()で新しい要素を作成するサンプルコード
createElement()で新しい要素を作成するサンプルコードをご紹介します。
ここでは、下記の2パターンでcreateElement()を使用します。
- 存在するタグ名を指定する場合
- 存在しないタグ名を指定する場合
存在するタグ名を指定する場合
存在するタグ名を指定する場合にcreateElement()を使用します。
● main.js
1 2 3 4 5 6 7 | console.log('● createElement()使用後-1') var new_element1 = document.createElement('p') console.log(new_element1) console.log('● createElement()使用後-2') var new_element2 = document.createElement('div') console.log(new_element2) |
実行結果
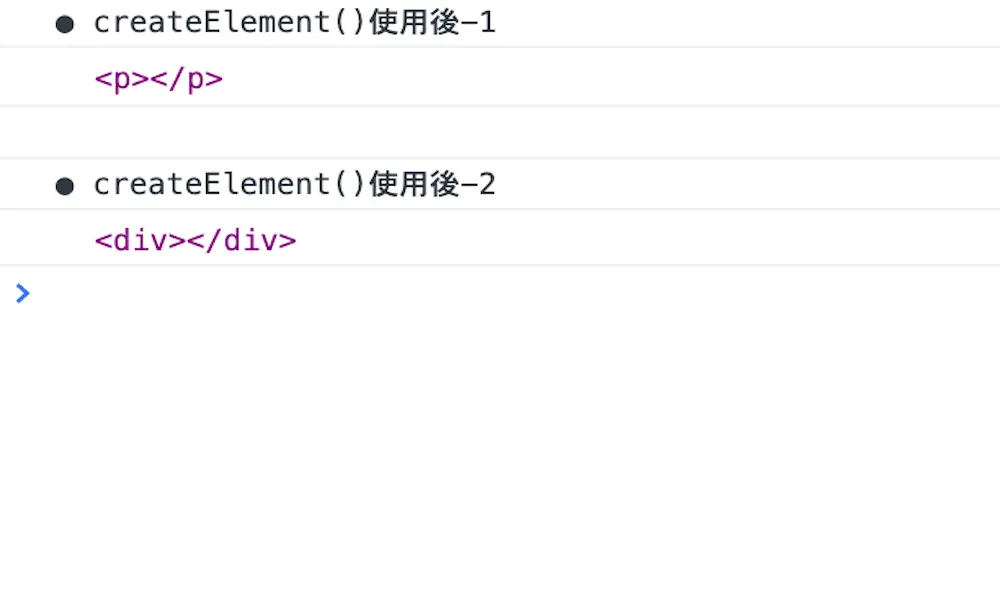
createElement()によって指定したタグの要素が作成されています。
そのため、「pタグ」や「divタグ」のHTML要素が表示されています。
存在しないタグ名を指定する場合
存在しないタグ名を指定する場合にcreateElement()を使用します。
● main.js
1 2 3 4 5 6 7 | console.log('● createElement()使用後-1') var new_element1 = document.createElement('ky') console.log(new_element1) console.log('● createElement()使用後-2') var new_element2 = document.createElement('cu') console.log(new_element2) |
実行結果
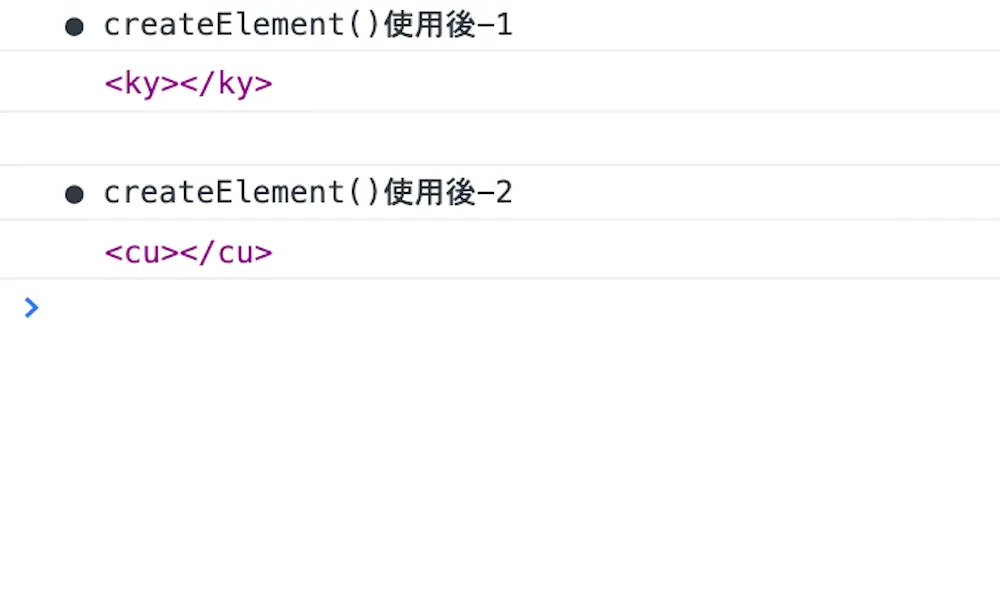
存在しないタグ名を指定しても、createElement()は指定したタグで要素を作成します。
そのため、「kyタグ」や「cuタグ」は存在しませんが、HTML要素として表示されています。
情報を追加してcreateElement()で新しいHTML要素を作成する場合
先ほどのサンプルコードでcreateElement()は新しいHTML要素を作成することがわかりました。
しかし、作成されたHTML要素は開始タグと終了タグのみでが設定されていません。
そのため、ここでは情報を追加して新たなHTML要素を作成する方法を下記の3つでご紹介します。
- テキストを追加してHTML要素を作成する場合
- 要素を追加してHTML要素を作成する場合
- idを追加してHTML要素を作成する場合
- classを追加してHTML要素を作成する場合
- nameを追加してHTML要素を作成する場合
テキストを追加してHTML要素を作成する場合
テキストを追加してHTML要素を作成する場合はtextContentを使用します。
textContentとはHTML要素の中身のテキストを取得したり、変更したりすることができるプロパティになります。
⚫︎ index.html
1 2 3 4 5 6 7 8 9 10 11 12 13 14 15 16 | <!DOCTYPE html> <html lang="ja"> <head> <meta charset="UTF-8"> <meta http-equiv="X-UA-Compatible" content="IE=edge"> <meta name="viewport" content="width=device-width, initial-scale=1.0"> <script src="main.js"></script> <title>createElement()使用</title> </head> <body> <h2>JavaScript</h2> <div class= 'fwArea'> <p>React.js</p> </div> </body> </html> |
⚫︎ Main.js
1 2 3 4 5 6 7 8 9 10 | var fwArea = document.querySelector('.fwArea') console.log('● createElement()使用後-1') var new_element1 = document.createElement('p') new_element1.textContent = 'Vue.js' fwArea.appendChild(new_element1) console.log('● createElement()使用後-2') var new_element2 = document.createElement('p') new_element2.textContent = 'Angular.js' fwArea.appendChild(new_element2) |
実行結果
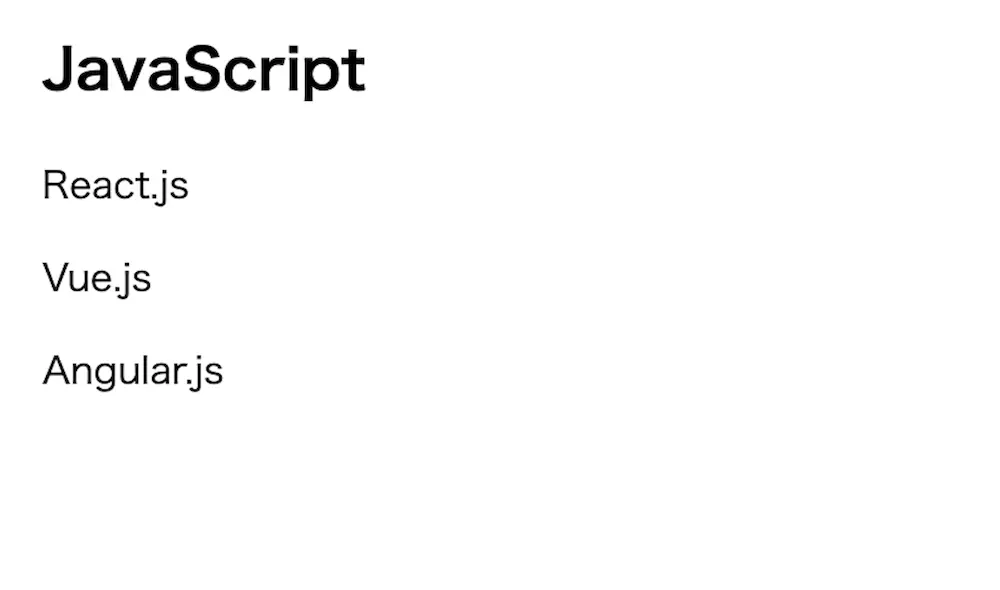
textContentによって、createElement()で作成したHTML要素にテキストを設定しています。
そのため、「Vue.js」と「Angular.js」というHTML要素が追加で表示されています。
要素を追加してHTML要素を作成する場合
要素を追加してHTML要素を作成する場合はinnerHTMLを使用します。
innerHTMLとは、HTML要素の中身を取得したり、変更したりすることができるプロパティになります。
⚫︎ index.html
1 2 3 4 5 6 7 8 9 10 11 12 13 14 15 16 | <!DOCTYPE html> <html lang="ja"> <head> <meta charset="UTF-8"> <meta http-equiv="X-UA-Compatible" content="IE=edge"> <meta name="viewport" content="width=device-width, initial-scale=1.0"> <script src="main.js"></script> <title>createElement()使用</title> </head> <body> <h2>JavaScript</h2> <div class= 'fwArea'> <p>React.js</p> </div> </body> </html> |
⚫︎ Main.js
1 2 3 4 5 6 7 8 9 10 11 12 | var fwArea = document.querySelector('.fwArea') var spanTag1 = "<span style = 'font-weight:bold;'>" var spanTag2 = "</span>" console.log('● createElement()使用後-1') var new_element1 = document.createElement('p') new_element1.innerHTML = spanTag1 + 'Vue.js' + spanTag2 fwArea.appendChild(new_element1) console.log('● createElement()使用後-2') var new_element2 = document.createElement('p') new_element2.innerHTML = spanTag1 + 'Angular.js' + spanTag2 fwArea.appendChild(new_element2) |
実行結果
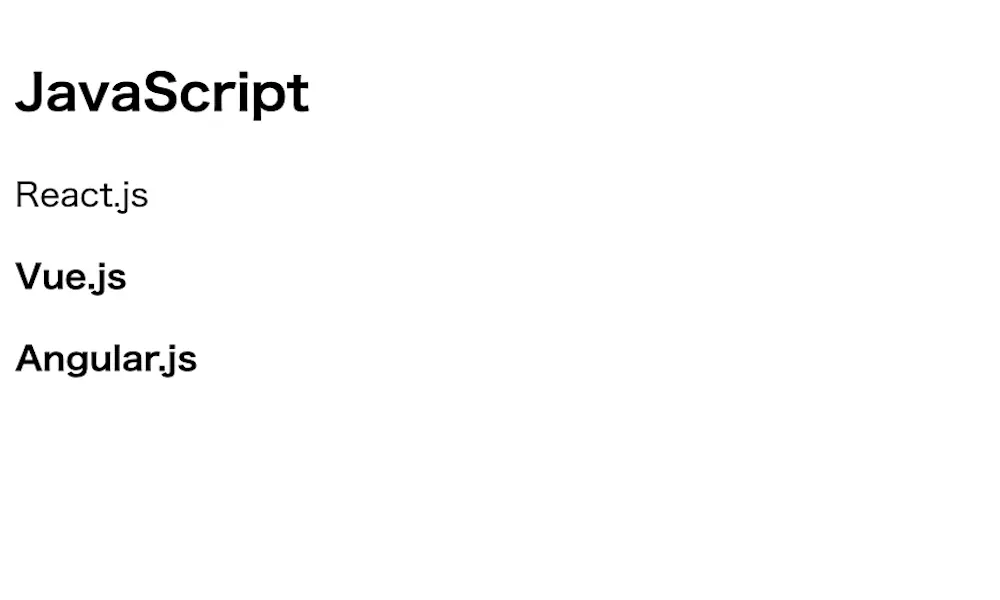
innerHTMLによって、createElement()で作成したHTML要素に要素を設定しています。
そのため、「Vue.js」と「Angular.js」が太字になって表示されています。
idを追加してHTML要素を作成する場合
idを追加してHTML要素を作成する場合はidを使用します。
idとはHTML要素のid属性の値をを取得したり、変更したりすることができるプロパティになります。
⚫︎ index.html
1 2 3 4 5 6 7 8 9 10 11 12 13 14 15 16 17 | <!DOCTYPE html> <html lang="ja"> <head> <meta charset="UTF-8"> <meta http-equiv="X-UA-Compatible" content="IE=edge"> <meta name="viewport" content="width=device-width, initial-scale=1.0"> <script src="main.js"></script> <link rel="stylesheet" href="style.css"> <title>createElement()使用</title> </head> <body> <h2>JavaScript</h2> <div class= 'fwArea'> <p>React.js</p> </div> </body> </html> |
⚫︎ style.css
1 2 3 | #redText { color: red; } |
⚫︎ Main.js
1 2 3 4 5 6 7 | var fwArea = document.querySelector('.fwArea') console.log('● createElement()使用後') var new_element1 = document.createElement('p') new_element.textContent = 'Vue.js' new_element.id = 'redText' fwArea.appendChild(new_element) |
実行結果
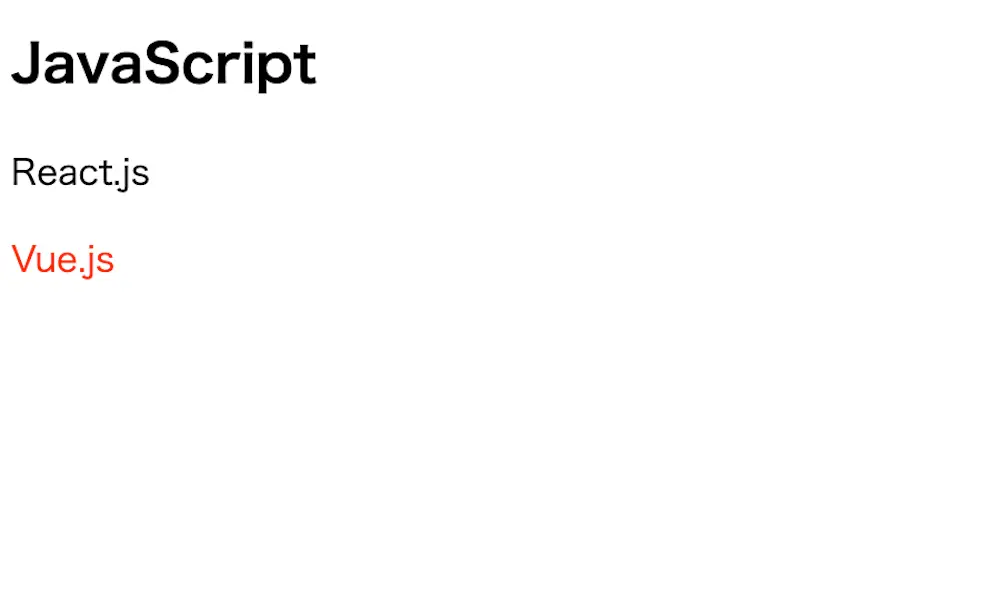
idによって、createElement()で作成したHTML要素にid名を設定しています。
そのため、「Vue.js」が赤色になって表示されています。

「setAttribute(‘id’, id名)」を使用してもidを指定することができますよ。
classを追加してHTML要素を作成する場合
classを追加してHTML要素を作成する場合は「className」を使用します。
classNameとはHTML要素のclass属性の値を取得したり、変更したりすることができるプロパティになります。
⚫︎ index.html
1 2 3 4 5 6 7 8 9 10 11 12 13 14 15 16 17 | <!DOCTYPE html> <html lang="ja"> <head> <meta charset="UTF-8"> <meta http-equiv="X-UA-Compatible" content="IE=edge"> <meta name="viewport" content="width=device-width, initial-scale=1.0"> <script src="main.js"></script> <link rel="stylesheet" href="style.css"> <title>createElement()使用</title> </head> <body> <h2>JavaScript</h2> <div class= 'fwArea'> <p>React.js</p> </div> </body> </html> |
⚫︎ style.css
1 2 3 | .blueText { color: blue; } |
⚫︎ Main.js
1 2 3 4 5 6 7 | var fwArea = document.querySelector('.fwArea') console.log('● createElement()使用後') var new_element = document.createElement('p') new_element.textContent = 'Angular.js' new_element.className = 'blueText' fwArea.appendChild(new_element) |
実行結果
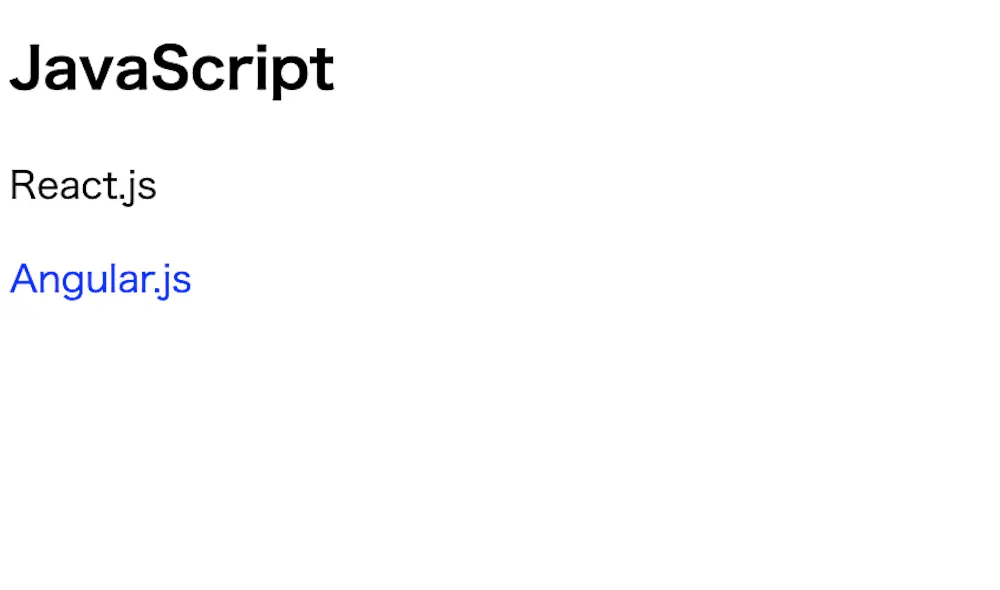
classによって、createElement()で作成したHTML要素にclassを設定しています。
そのため、「Angular.js」が青色になって表示されています。

「setAttribute(‘class’, class名)」を使用してもclassを指定することができますよ。
nameを追加してHTML要素を作成する場合
nameを追加してHTML要素を作成する場合はnameを使用します。
nameとはHTML要素のname属性の値を取得したり、変更したりすることができるプロパティになります。
⚫︎ index.html
1 2 3 4 5 6 7 8 9 10 11 12 13 14 15 16 17 | <!DOCTYPE html> <html lang="ja"> <head> <meta charset="UTF-8"> <meta http-equiv="X-UA-Compatible" content="IE=edge"> <meta name="viewport" content="width=device-width, initial-scale=1.0"> <script src="main.js"></script> <link rel="stylesheet" href="style.css"> <title>createElement()使用</title> </head> <body> <h2>JavaScript</h2> <div class= 'fwArea'> <input type = "text" value = "React.js"> </div> </body> </html> |
⚫︎ style.css
1 2 3 | input[name = 'greenText'] { color: green; } |
⚫︎ Main.js
1 2 3 4 5 6 7 | var fwArea = document.querySelector('.fwArea') console.log('● createElement()使用後') var new_element = document.createElement('input') new_element.name = 'greenText' new_element.value = 'jQuery' fwArea.appendChild(new_element) |
実行結果
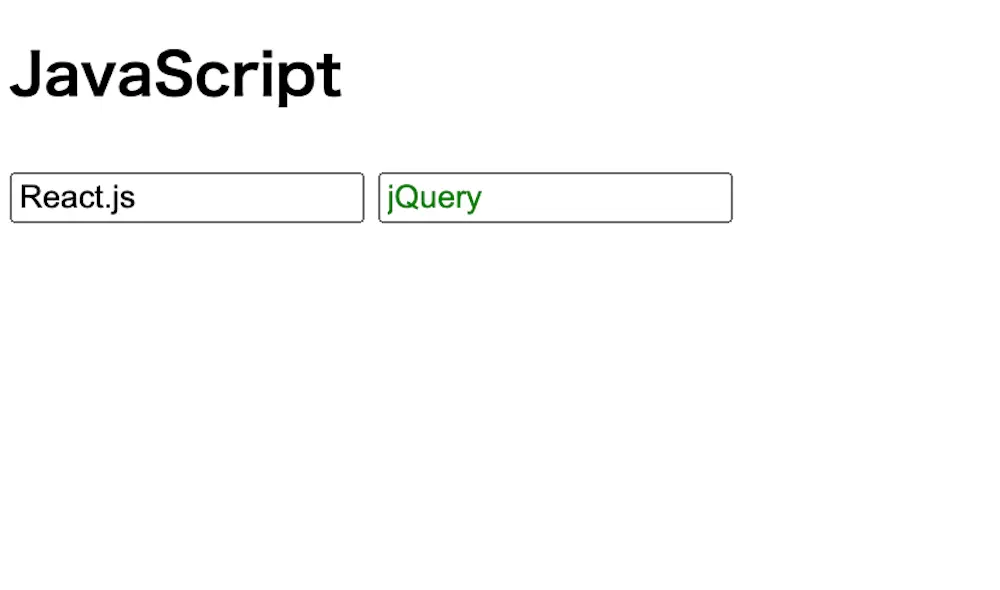
nameによって、createElement()で作成したHTML要素にnameを設定しています。
そのため、「jQuery」が緑色になって表示されています。

「setAttribute(‘name’, name名)」を使用してもnameを指定することができますよ。
createElement()で複数の要素を作成する場合
createElement()で複数のHTML要素を作成する場合は、for文を使用します。
for文とは繰り返し処理を行う文法となります。
⚫︎ index.html
1 2 3 4 5 6 7 8 9 10 11 12 13 14 15 16 17 | <!DOCTYPE html> <html lang="ja"> <head> <meta charset="UTF-8"> <meta http-equiv="X-UA-Compatible" content="IE=edge"> <meta name="viewport" content="width=device-width, initial-scale=1.0"> <script src="main.js"></script> <link rel="stylesheet" href="style.css"> <title>createElement()使用</title> </head> <body> <h2>JavaScript</h2> <div class= 'fwArea'> <p>Vue.js</p> </div> </body> </html> |
⚫︎ style.css
1 2 3 4 5 6 | .orangeText { color: orange; } .purpleText { color: purple; } |
⚫︎ Main.js
1 2 3 4 5 6 7 8 9 10 11 12 13 14 15 | var fwArea = document.querySelector('.fwArea') var className1 = 'orangeText' var className2 = 'purpleText' console.log('● createElement()使用後') for(var i = 1; i <= 8; i++) { var new_element = document.createElement('p') new_element.textContent = 'Vue.js' if(i <= 4) { new_element.setAttribute('class', className1) } if(i > 4 && i <= 8) { new_element.setAttribute('class', className2) } fwArea.appendChild(new_element) } |
実行結果
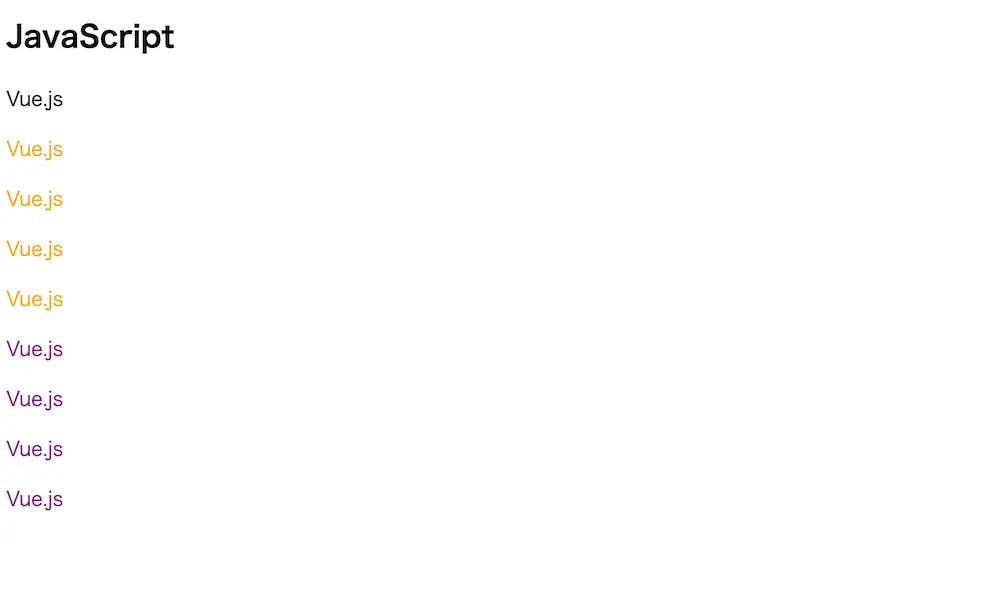
for文とcreateElement()を組み合わせることで、複数のHTML要素を作成しています。
そのため、2個目から5番目の「Vue.js」がオレンジ色に、6個目から9番目の「Angular.js」が紫色になって表示されています。
createElement()を使用したケース
createElement()を使用したケースについてご紹介します。
例えば、入力した値を要素に更新し、履歴ボタンを押すことで、更新した値を表示する画面を作成します。
⚫︎ index.html
1 2 3 4 5 6 7 8 9 10 11 12 13 14 15 16 17 18 19 20 21 22 23 24 25 26 27 28 | <!DOCTYPE html> <html lang="ja"> <head> <meta charset="UTF-8"> <meta http-equiv="X-UA-Compatible" content="IE=edge"> <meta name="viewport" content="width=device-width, initial-scale=1.0"> <link href="https://cdn.jsdelivr.net/npm/bootstrap@5.0.2/dist/css/bootstrap.min.css" rel="stylesheet" integrity="sha384-EVSTQN3/azprG1Anm3QDgpJLIm9Nao0Yz1ztcQTwFspd3yD65VohhpuuCOmLASjC" crossorigin="anonymous"> <script src="https://cdn.jsdelivr.net/npm/bootstrap@5.0.2/dist/js/bootstrap.bundle.min.js" integrity="sha384-MrcW6ZMFYlzcLA8Nl+NtUVF0sA7MsXsP1UyJoMp4YLEuNSfAP+JcXn/tWtIaxVXM" crossorigin="anonymous"></script> <script src="main.js"></script> <link rel="stylesheet" href="style.css"> <title>更新と履歴画面の使用</title> </head> <div class= divArea> <div class="input-group mb-3"> <input type="text" class="form-control" placeholder="テキスト名"> <button class="btn btn-outline-secondary" type="button" id="button-addon2">更新</button> </div> <button type="button" class="btn btn-outline-dark">履歴を見る</button> <p class = "ptitle">⚫︎ 更新された値</p> <div class = 'outputArea'> <p class= 'upText'></p> </div> <p class = "ptitle">⚫︎ 履歴一覧</p> <div class = 'historyArea'></div> </div> <div class = 'backupArea'></div> </body> </html> |
⚫︎ style.css
1 2 3 4 5 6 7 8 9 10 11 12 | .divArea { width: 30%; margin-left: 10px; } .outputArea { margin: 20px 0; } .ptitle { font-weight: bold; margin-top: 10px; } |
● Main.js
1 2 3 4 5 6 7 8 9 10 11 12 13 14 15 16 17 18 19 20 21 22 23 24 25 26 27 28 29 30 31 32 33 34 | var upText = document.querySelector('.outputArea .upText') var bkArea = document.querySelector('.backupArea') var hisArea = document.querySelector('.historyArea') var updateBtn = document.querySelector('#button-addon2') updateBtn.addEventListener('click', update) var hisBtn = document.querySelector('.btn-outline-dark') hisBtn.addEventListener('click', history) function update() { var inputText = document.querySelector('.form-control') upText.textContent = inputText.value bkElement(upText.textContent) } function bkElement (text) { var hdElement = document.createElement('input') hdElement.setAttribute('type', 'hidden') hdElement.textContent = text bkArea.appendChild(hdElement) } function history() { hisAreaInit() var bkElements = bkArea.getElementsByTagName('input') var len = bkElements.length for(var i = 0; i < len; i++) { var hisElement = document.createElement('p') hisElement.textContent = bkElements.item(i).innerText hisArea.appendChild(hisElement) } } function hisAreaInit() { hisArea.innerHTML = '' } |
実行結果
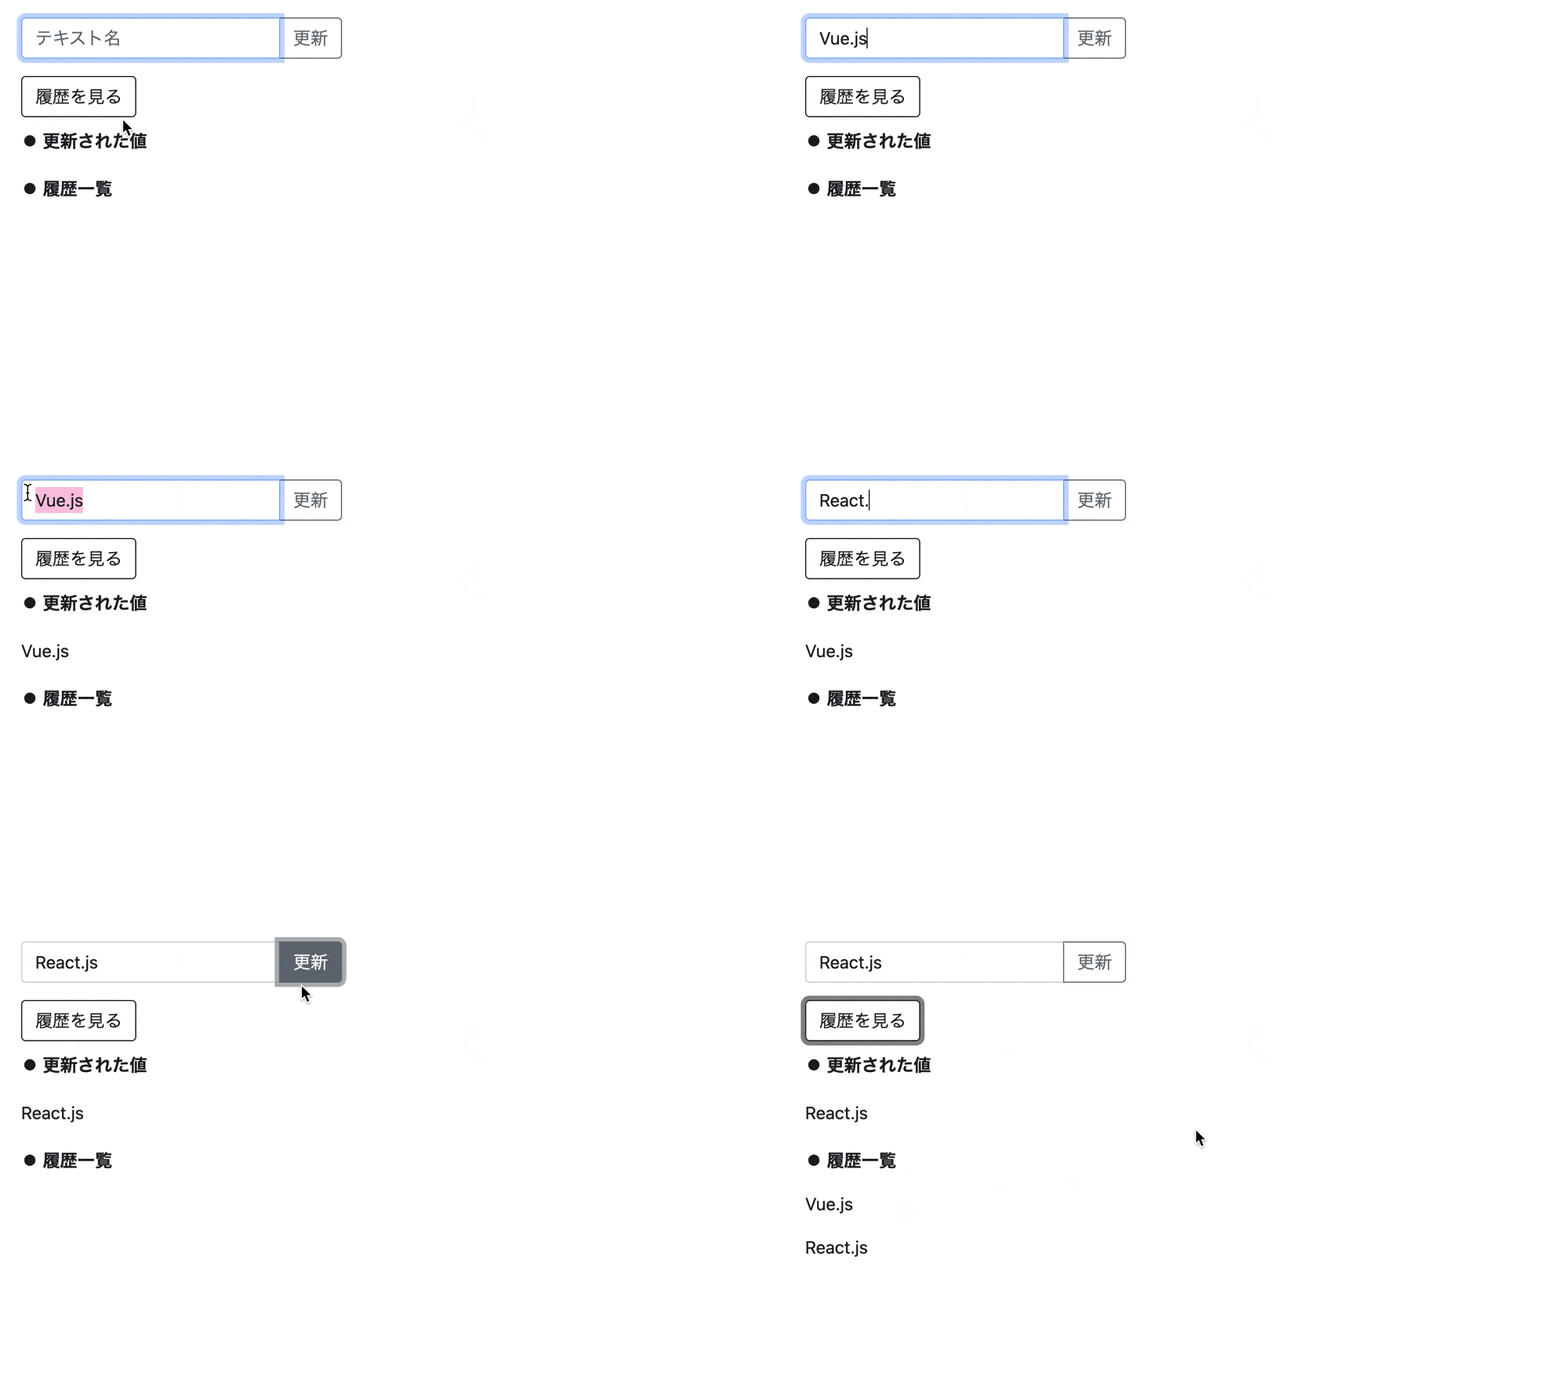
更新ボタンを押すと入力した値が要素に上書きされ、履歴ボタンを押すと今まで更新した値の一覧が表示されています。
ここでは、createElement()が下記のように使用されています。
- 「更新」ボタンを押したタイミングでバックアップとしてHTML要素(hiddenタイプのinputタグ)を作成
- 「履歴」ボタンを押したタイミングでHTML要素(pタグ)を作成
更新ボタンを押すと、入力した値が要素となって表示されますが、同時にhiddenタイプのinputタグの要素を作成しています。
そして、履歴ボタンを押すと、履歴表示用としてpタグのHTML要素を作成し、バックアップとして作成したinputタグのHTML要素の値を紐づけています。
そのためcreateElement()は、表示用のHTML要素を動的に作成したり、値を渡す用のHTML要素を作成する際に使用することができます。
テキストノードを作成する場合
テキストノードを作成する場合は、createTextNode()を使用します。
createTextNode()とは、指定したテキストを新しいノードとして作成するメソッドとなります。
⚫︎ index.html
1 2 3 4 5 6 7 8 9 10 11 12 13 14 | <!DOCTYPE html> <html lang="ja"> <head> <meta charset="UTF-8"> <meta http-equiv="X-UA-Compatible" content="IE=edge"> <meta name="viewport" content="width=device-width, initial-scale=1.0"> <script src="main.js"></script> <title>createElement()使用</title> </head> <body> <h2>JavaScript</h2> <div class= 'fwArea'>Vue.js</div> </body> </html> |
⚫︎ Main.js
1 2 3 4 5 6 7 8 9 | var fwArea = document.querySelector('.fwArea') console.log('● createTextNode()使用後-1') var new_node1 = document.createTextNode('React.js') fwArea.appendChild(new_node1) var fwArea = document.querySelector('.fwArea') console.log('● createTextNode()使用後-2') var new_node2 = document.createTextNode('Angular.js') fwArea.appendChild(new_node2) |
実行結果
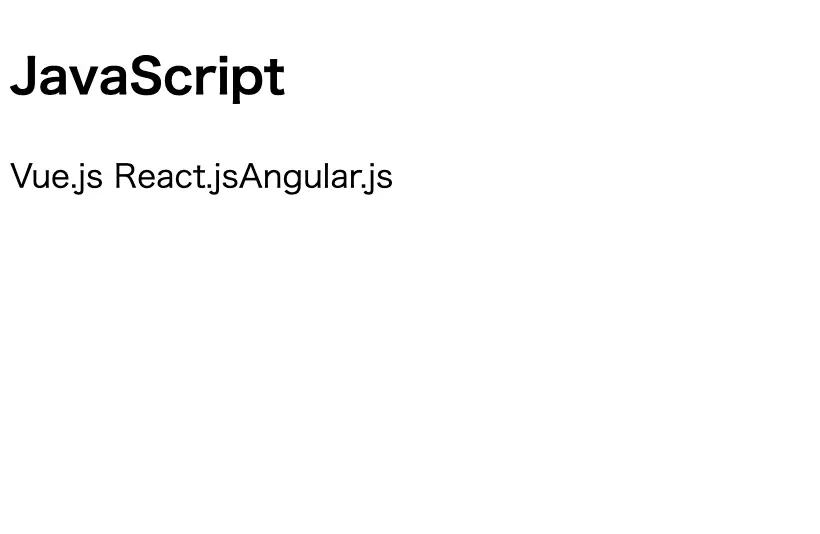
createTextNode()によって、「React.js」と「Angular.js」がテキストノードとして作成されています。
指定したHTML要素を削除する場合
指定したHTML要素を削除する場合は、remove()を使用します。
remove()とは自分自身のHTML要素を削除するメソッドになります。
⚫︎ index.html
1 2 3 4 5 6 7 8 9 10 11 12 13 14 15 16 17 18 | <!DOCTYPE html> <html lang="ja"> <head> <meta charset="UTF-8"> <meta http-equiv="X-UA-Compatible" content="IE=edge"> <meta name="viewport" content="width=device-width, initial-scale=1.0"> <script src="main.js"></script> <title>remove()使用</title> </head> <body> <h2>JavaScript</h2> <div class= 'fwArea'> <p>Vue.js</p> <p>React.js</p> <p>Angular.js</p> </div> </body> </html> |
⚫︎ Main.js
1 2 3 4 5 6 7 8 | var fwArea = document.querySelector('.fwArea') var pTag = fwArea.getElementsByTagName('p') console.log('● remove()使用後-1') pTag.item(2).remove() console.log('● remove()使用後-2') pTag.item(1).remove() |
実行結果
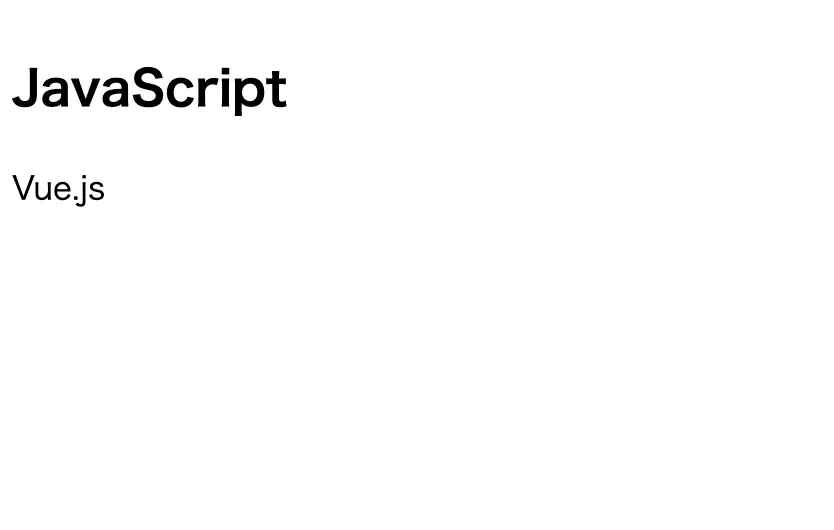
remove()によって、「React.js」と「Angular.js」が削除されています。
もし、remove()について詳しく知りたし場合は下記の記事をご参考ください。
まとめ
⚫︎ createElement()とは新しいHTML要素を作成するメソッドである
⚫︎ createElement()は下記のパラメータを指定して使用する
・タグ名(必須)
⚫︎ 存在するタグ名を指定してcreateElement()を使用すると、新しいHTML要素が作成される
⚫︎ 存在しないタグ名を指定してcreateElement()を使用すると、こちらも新しいHTML要素が作成される
⚫︎ HTML要素にテキストを追加する場合はtextContentを使用する
⚫︎ HTML要素にHTML要素を追加する場合はinnerHTMLを使用する
⚫︎ HTML要素にidを追加する場合はidを使用する
⚫︎ HTML要素にclassを追加する場合はclassNameを使用する
⚫︎ HTML要素にnameを追加する場合はnameを使用する
⚫︎ createElement()は下記のようなケースで使用することができる
・画面に表示する要素のHTML要素を動的に作成する
・値を渡す用のHTML要素を作成する
⚫︎ テキストノードを作成するには︎ createTextNode()を使用する
⚫︎ 指定したHTML要素を削除するにはremove()を使用する
 Sossyの助太刀ブログ